
Planting, Growing, and Harvesting Okra
Okra thrives in warm weather and is traditionally grown in the southern U.S., though there are varieties for northern growers, too. Easy to grow and use, it also has beautiful flowers that look great throughout the growing season! See how to plant, grow, and harvest okra.
About Okra
Many gardeners are discovering okra and the range of this warm-weather crop has been creeping northward and gaining in popularity. This plant not only grows edible vegetables and beautiful flowers but also it is rich in vitamin A and low in calories, which makes it a great addition to your diet.
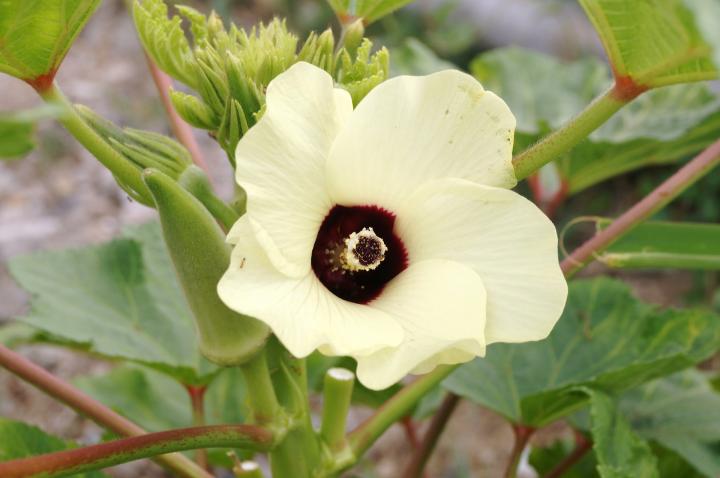
If you look at the flower of okra, you’ll see a resemblance to a hibiscus flower. it’s no coincidence—okra is a member of the hibiscus family!
- Eliminate weeds when the plants are young, then mulch heavily—4 to 8 inches—to prevent more weeds.
- Side-dress the plants with 10-10-10, aged manure, or rich compost (1/2 pound per 25 feet of row). You could also apply a balanced liquid fertilizer monthly. Avoid too much nitrogen, which deters flowering and encourages leafy growth. Learn more about soil amendments and preparing soil for planting.
- When the seedlings are about 3 inches tall, thin the plants so that they are 18 to 24 inches apart.
- Keep the plants well watered throughout the summer months. One inch of water per week is ideal, but use more if you are in a hot, arid region.
- High heat can slow the growth of okra.
- Prune the tops of okra plants when they reach 5 to 6 feet tall. This will result in more side branches. Prune those as needed.
- In warm regions, some growers cut plants to about 2 feet when productivity slows in summer. The plants grow back and product another crop of okra.
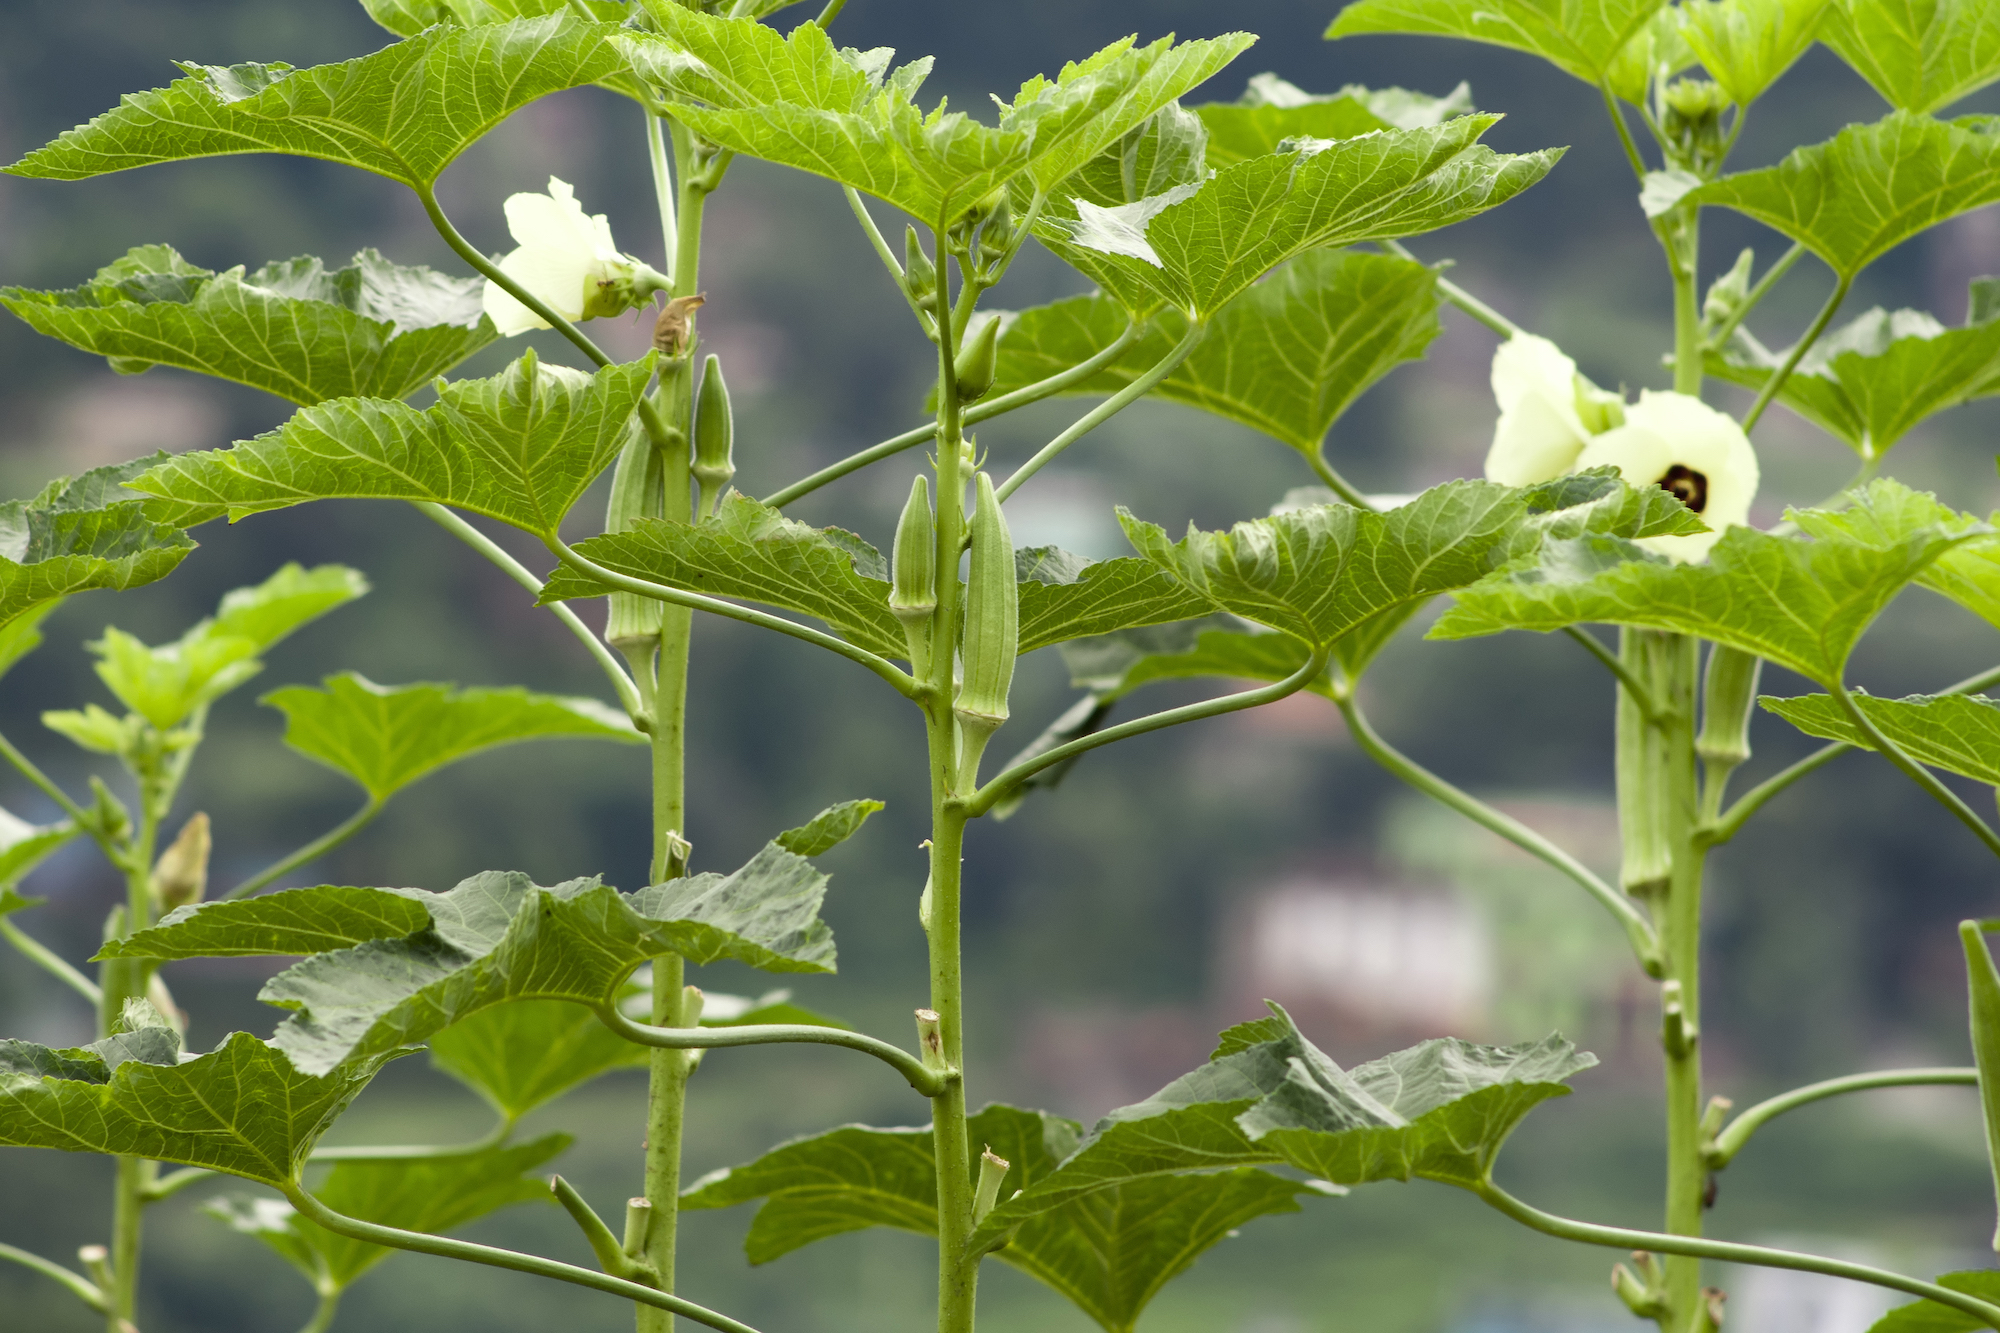
Photo credit: Chunumunu/GettyImages
Note: Okra has large, hairy leaves, as well as tiny spines on its pods, both of which may cause skin irritation; consider wearing gloves and/or long sleeves when handling. “Spineless” types have pods that don’t present this problem. Regardless of type, irritation does not occur when you eat okra.
- Harvest the okra when seed pods are 1 to 2 days old and 2 to 4 inches long; these appear about 2 months after planting. This is when okra is at its softest and most digestible.
- Cut the stem just above the cap with a knife. If the stem is too hard to cut, the pod is probably too old and should be tossed.
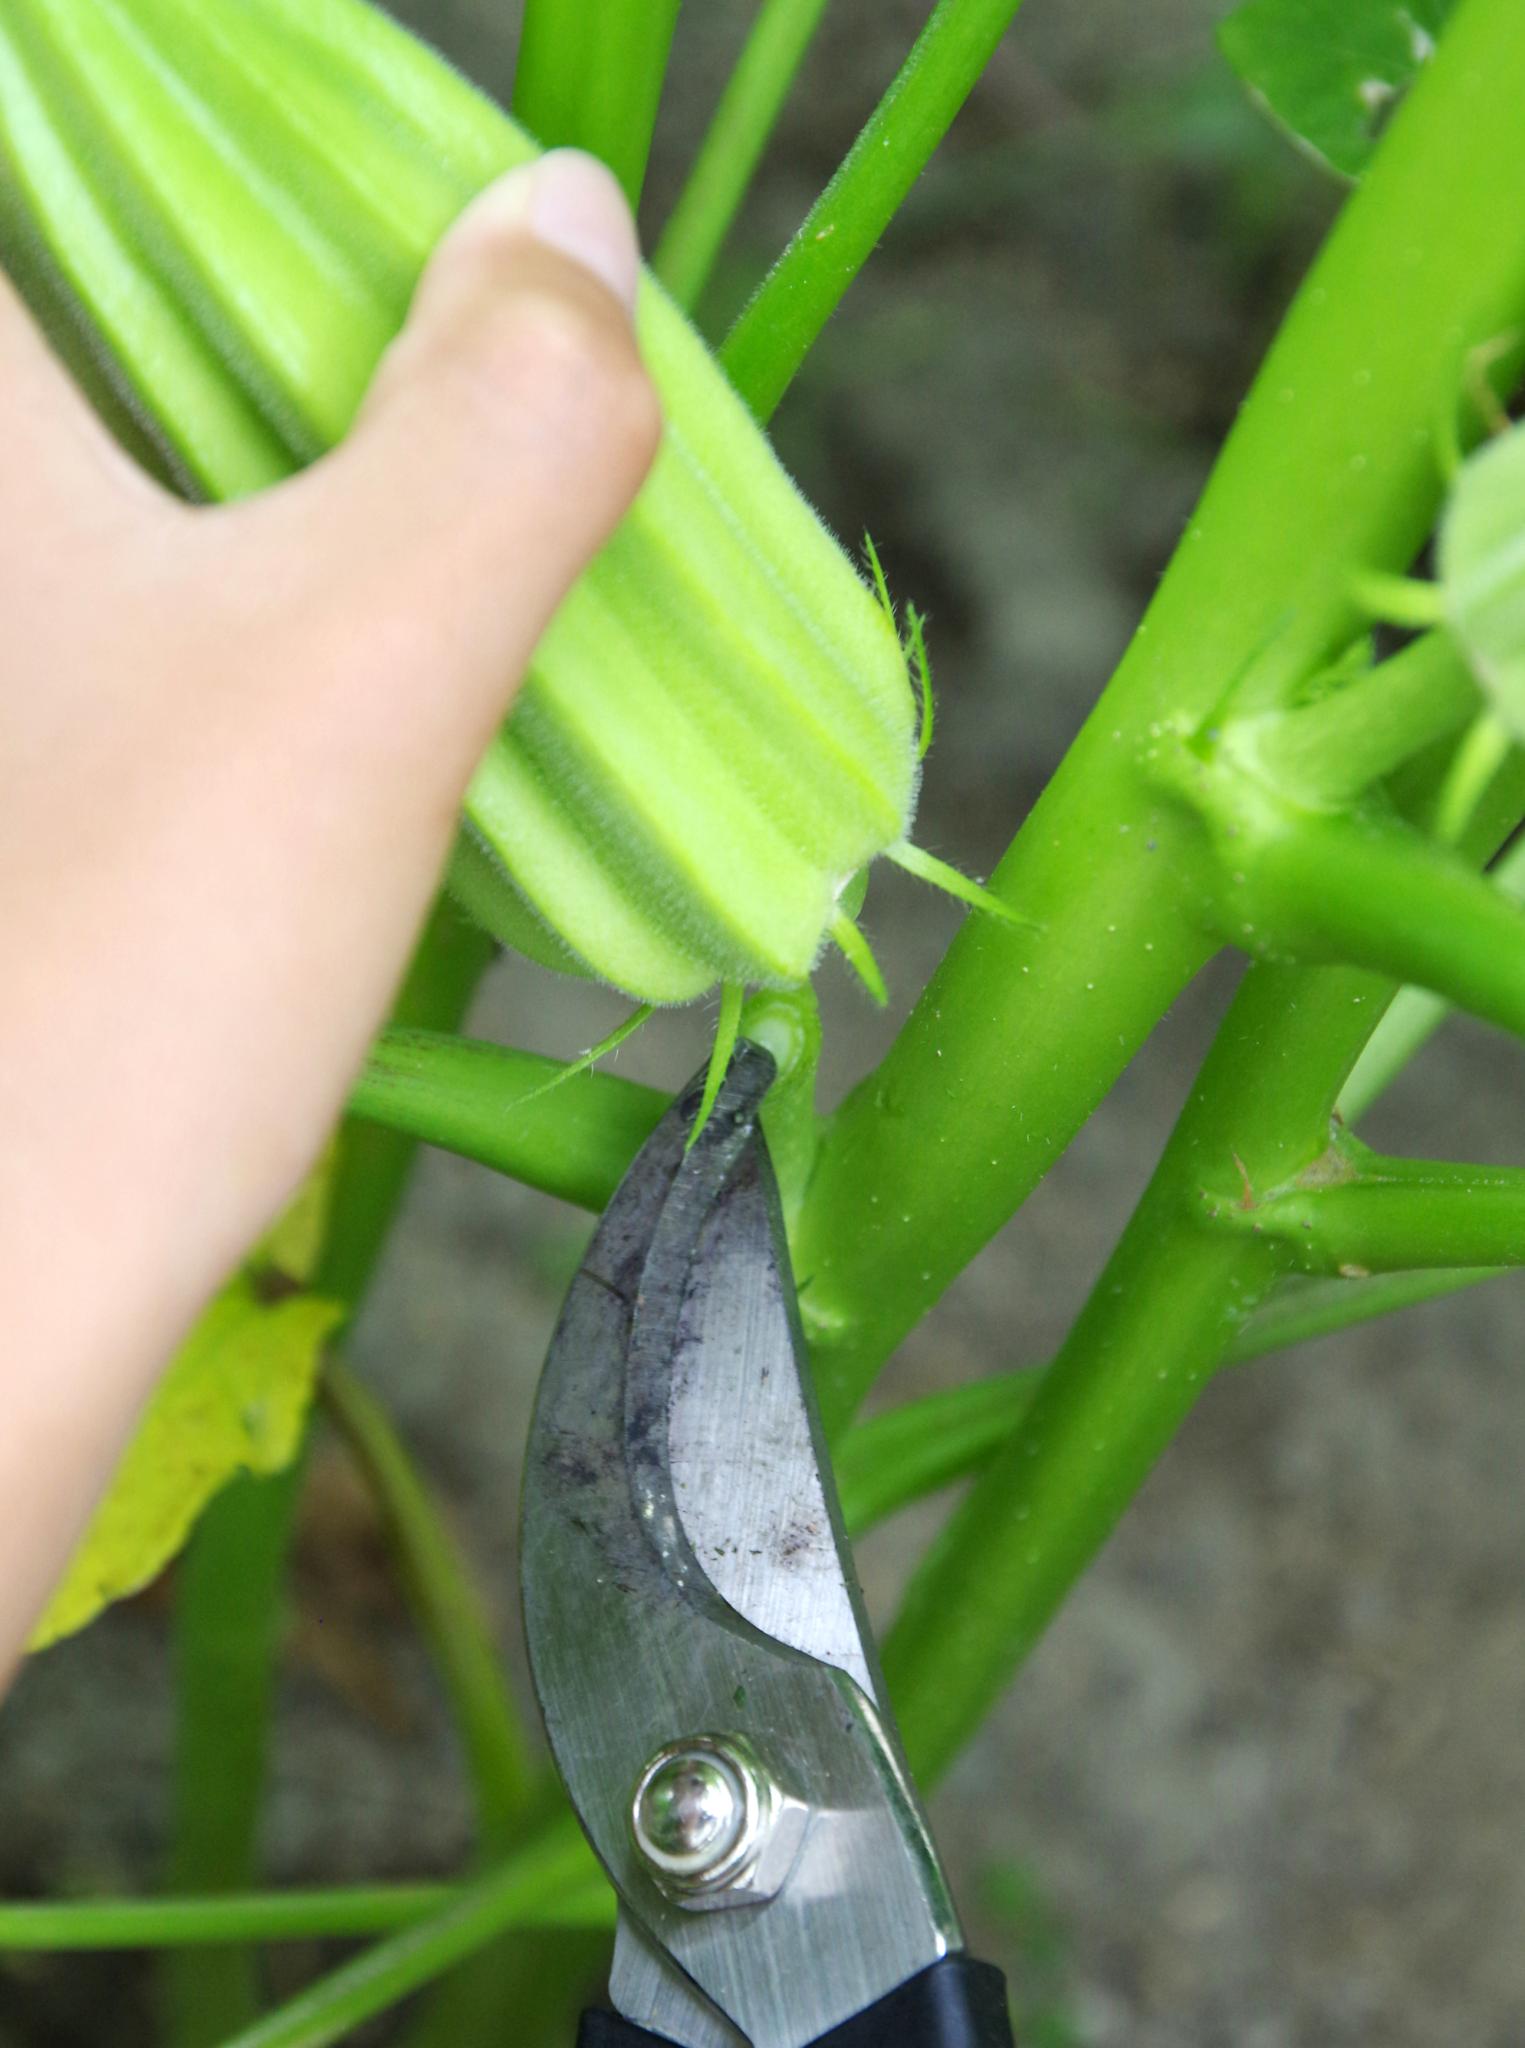
Photo credit: fz750/GettyImages
- Harvest often: The more you pick, the more flowers will appear, and okra goes from flowering to fruit in a few days.
- A severe freeze can damage pods. If one is predicted and pods are drying on the plant for seeds, cut the plant and hang it indoors to dry. Put a paper bag over it so if the pods shatter, seeds will not be last.
How to Store Okra
- To store okra, put the uncut and uncooked pods into freezer bags and keep them in the freezer. Or wash and blanch okra before freezing.
- Or, can okra to have it throughout the winter.
Okra can be consumed in a number of ways—breaded and deep-fried, pickled, stewed, in Indian cuisine, and even raw in the field! Of course, the most famous okra dish is probably gumbo.
For a nice stewy dish, simmer fresh tomatoes and onions and perhaps some pre-fried bacon pieces. Add chopped okra. On the stove, cook for 25 minutes and the soft insides of okra will help create a nice thick savory broth to serve over rice.
Or, try roasting okra bring out its natural nuttiness. Just remove the cap and split lengthwise, and roast on a baking sheet for 25 minutes; we cover with aluminum foil for the first half of cooking.


ADVERTISEMENT
My Mother tried to cook some okra years ago and it turned out SLIMMY! When I grew up and I tried cooking it, it too turned out SLIMMY!!!! I would never try it again. How they eat it in the south I could never figure out.
Well best practice is to add a little lemon or lime juice. myself I saute` tomatoes [with onions if you like] and add cut okra. this makes a good side dish just like that or proceed to make stew or gumbo. canning or pickled okra is good and results in crispy pieces [uncut], goes well in a nice green salad also.
Try steaming it in a basket until it's bright green. Or fry it. Cut each pod into 1/4"-1/2" lengths, coat with your favorite breading mix a fry in a pan on medium heat until golden brown.
I live in North Central Florida and my okra plants have been doing great all along, except for a about a month ago, I started cutting off the dry leaves and now the trees have stopped and or in some cases not producing as much as before. Thanks
I live in south Georgia my orka plants are just starting to bloom but the bloom is turning brown and falling off. What do I need to do
Comments