
How to Plant, Grow, and Harvest Garlic
Garlic does best in full sun, so select a planting site that receives 6 to 8 hours of sunlight per day. A couple weeks or so before planting, prepare the soil by mixing in a healthy helping of compost or aged manure.
If your garden soil is poorly draining or high in clay, garlic grower Robin Jarry of Hope, Maine, suggests growing in heavily mulched raised beds instead. “I plant in raised beds for good drainage, and then mulch with about 6 inches of old hay after the ground freezes. I never water my garlic—I like low-maintenance vegetables!” Raised beds should be 2 to 3 feet wide and at least 10 to 12 inches deep.
When to Plant Garlic
Garlic is most often planted in the fall (between late September and November). In areas that get a hard frost, plant garlic cloves 6 to 8 weeks before the first fall frost date, before the ground freezes.
Garlic does best if it can experience a “dormancy” period of colder weather—at least 40˚F (4°C)—that lasts 4 to 8 weeks. By planting garlic bulbs in the fall, they have time to develop healthy roots before temperatures drop and/or the ground freezes, but not enough time for the garlic to form top growth. Then, by early spring, the bulbs “wake up” from their dormancy and start rapidly producing foliage, followed by bulbs, before the harshest heat of summer stops their growth.
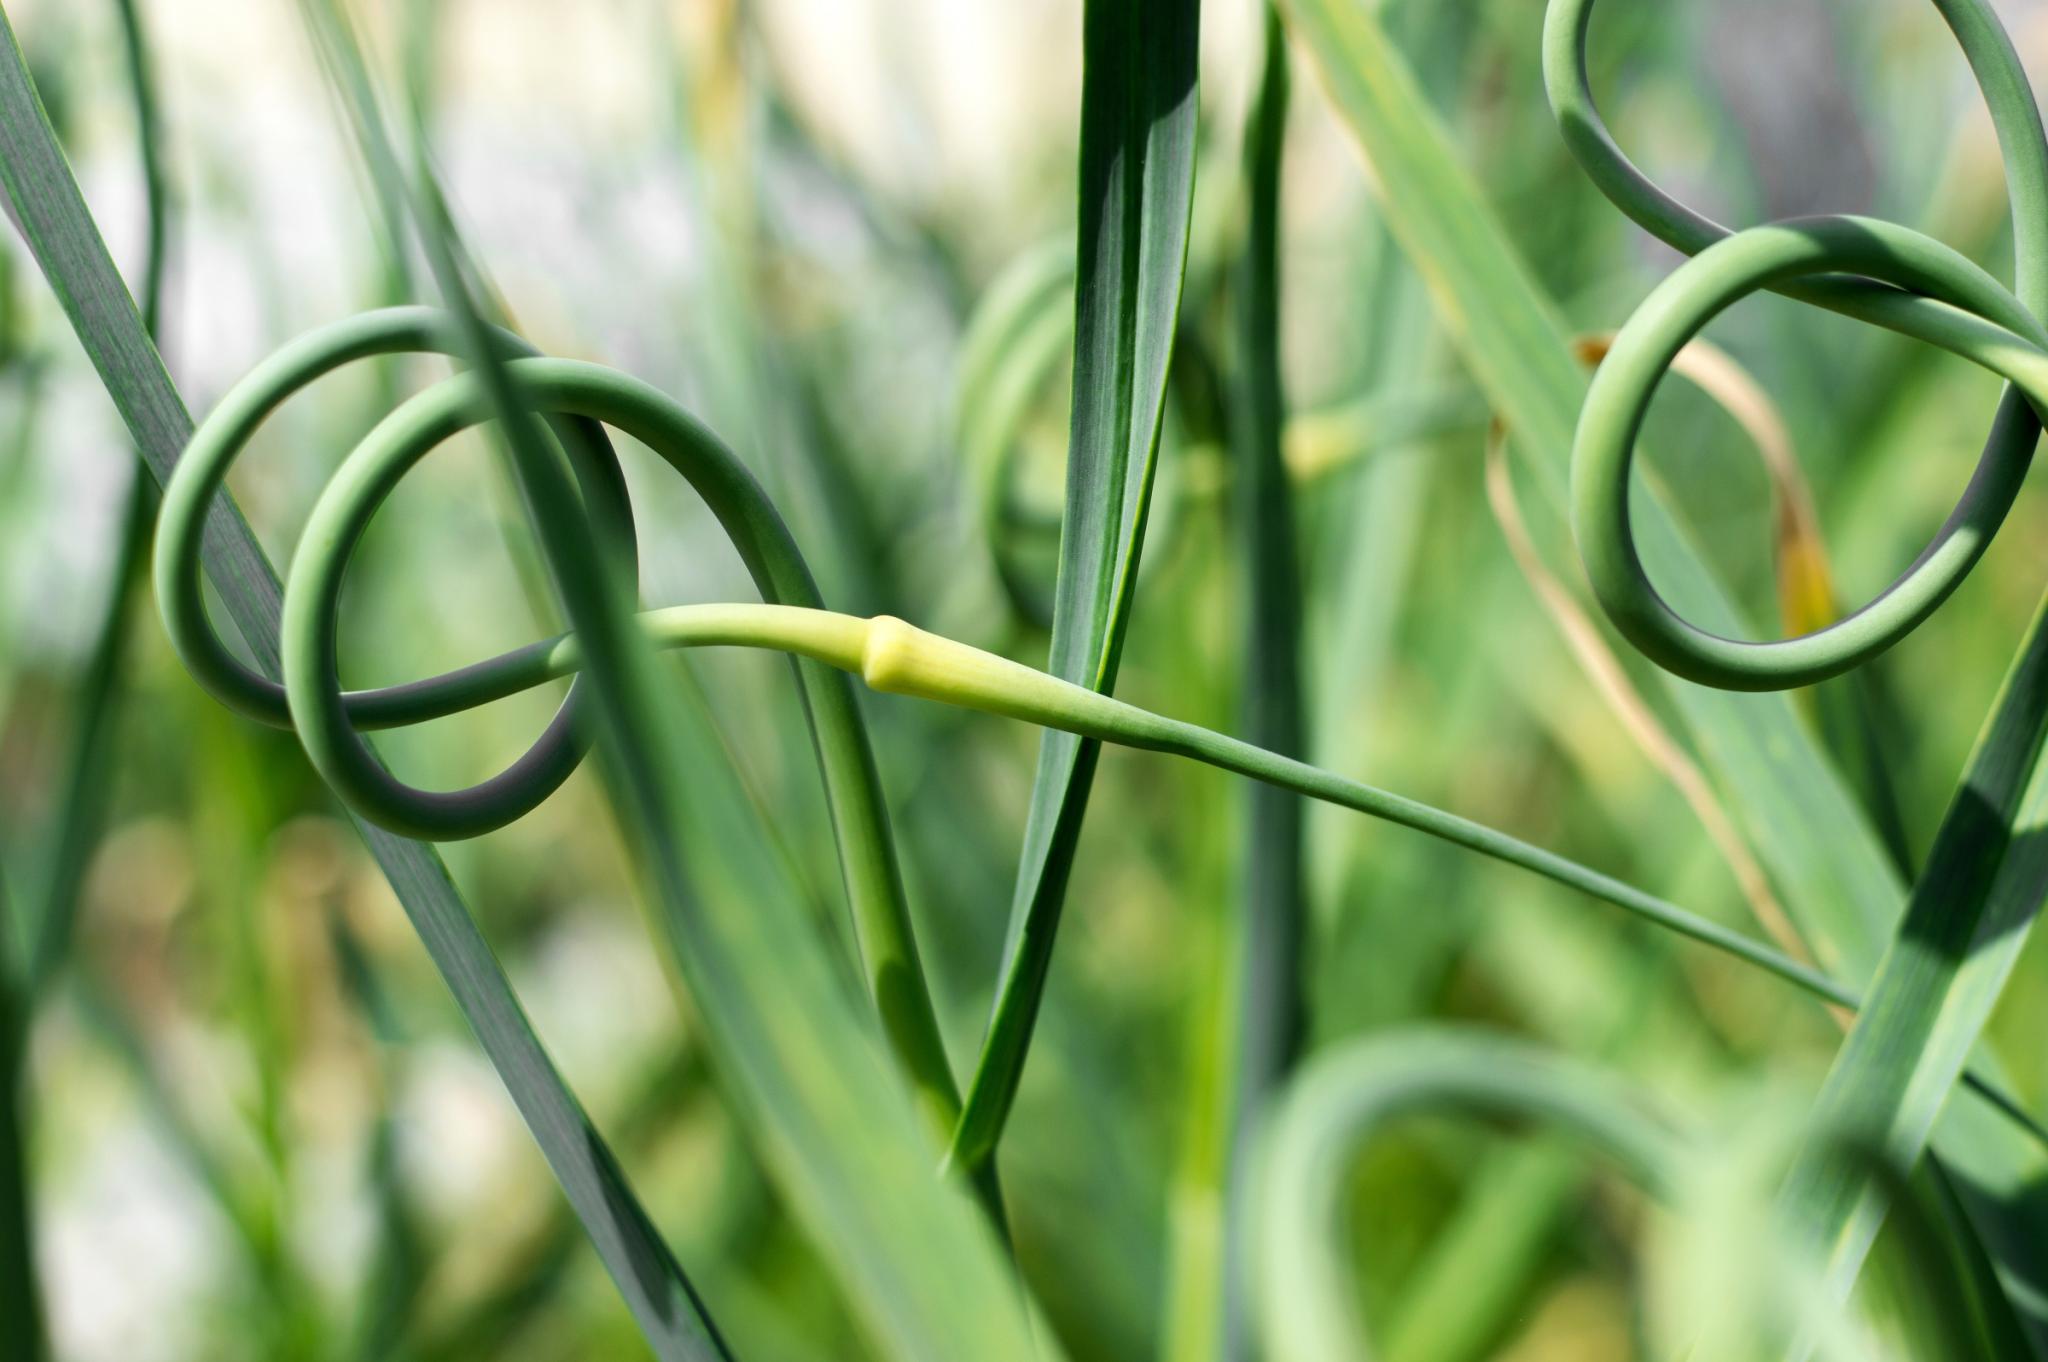
In mild climates, you can plant garlic cloves as late as February or March, but the resulting bulbs won’t be as large. However, you can still enjoy the garlic scapes during the summer. (Scapes are the plant’s tender green shoots and have a mild garlic flavor. Enjoy on eggs, in salads, as a pizza topping, or in stir-fries!) If you plant in the spring, wait to do so until after the soil can be worked and it crumbles apart easily.
How to Plant Garlic
-
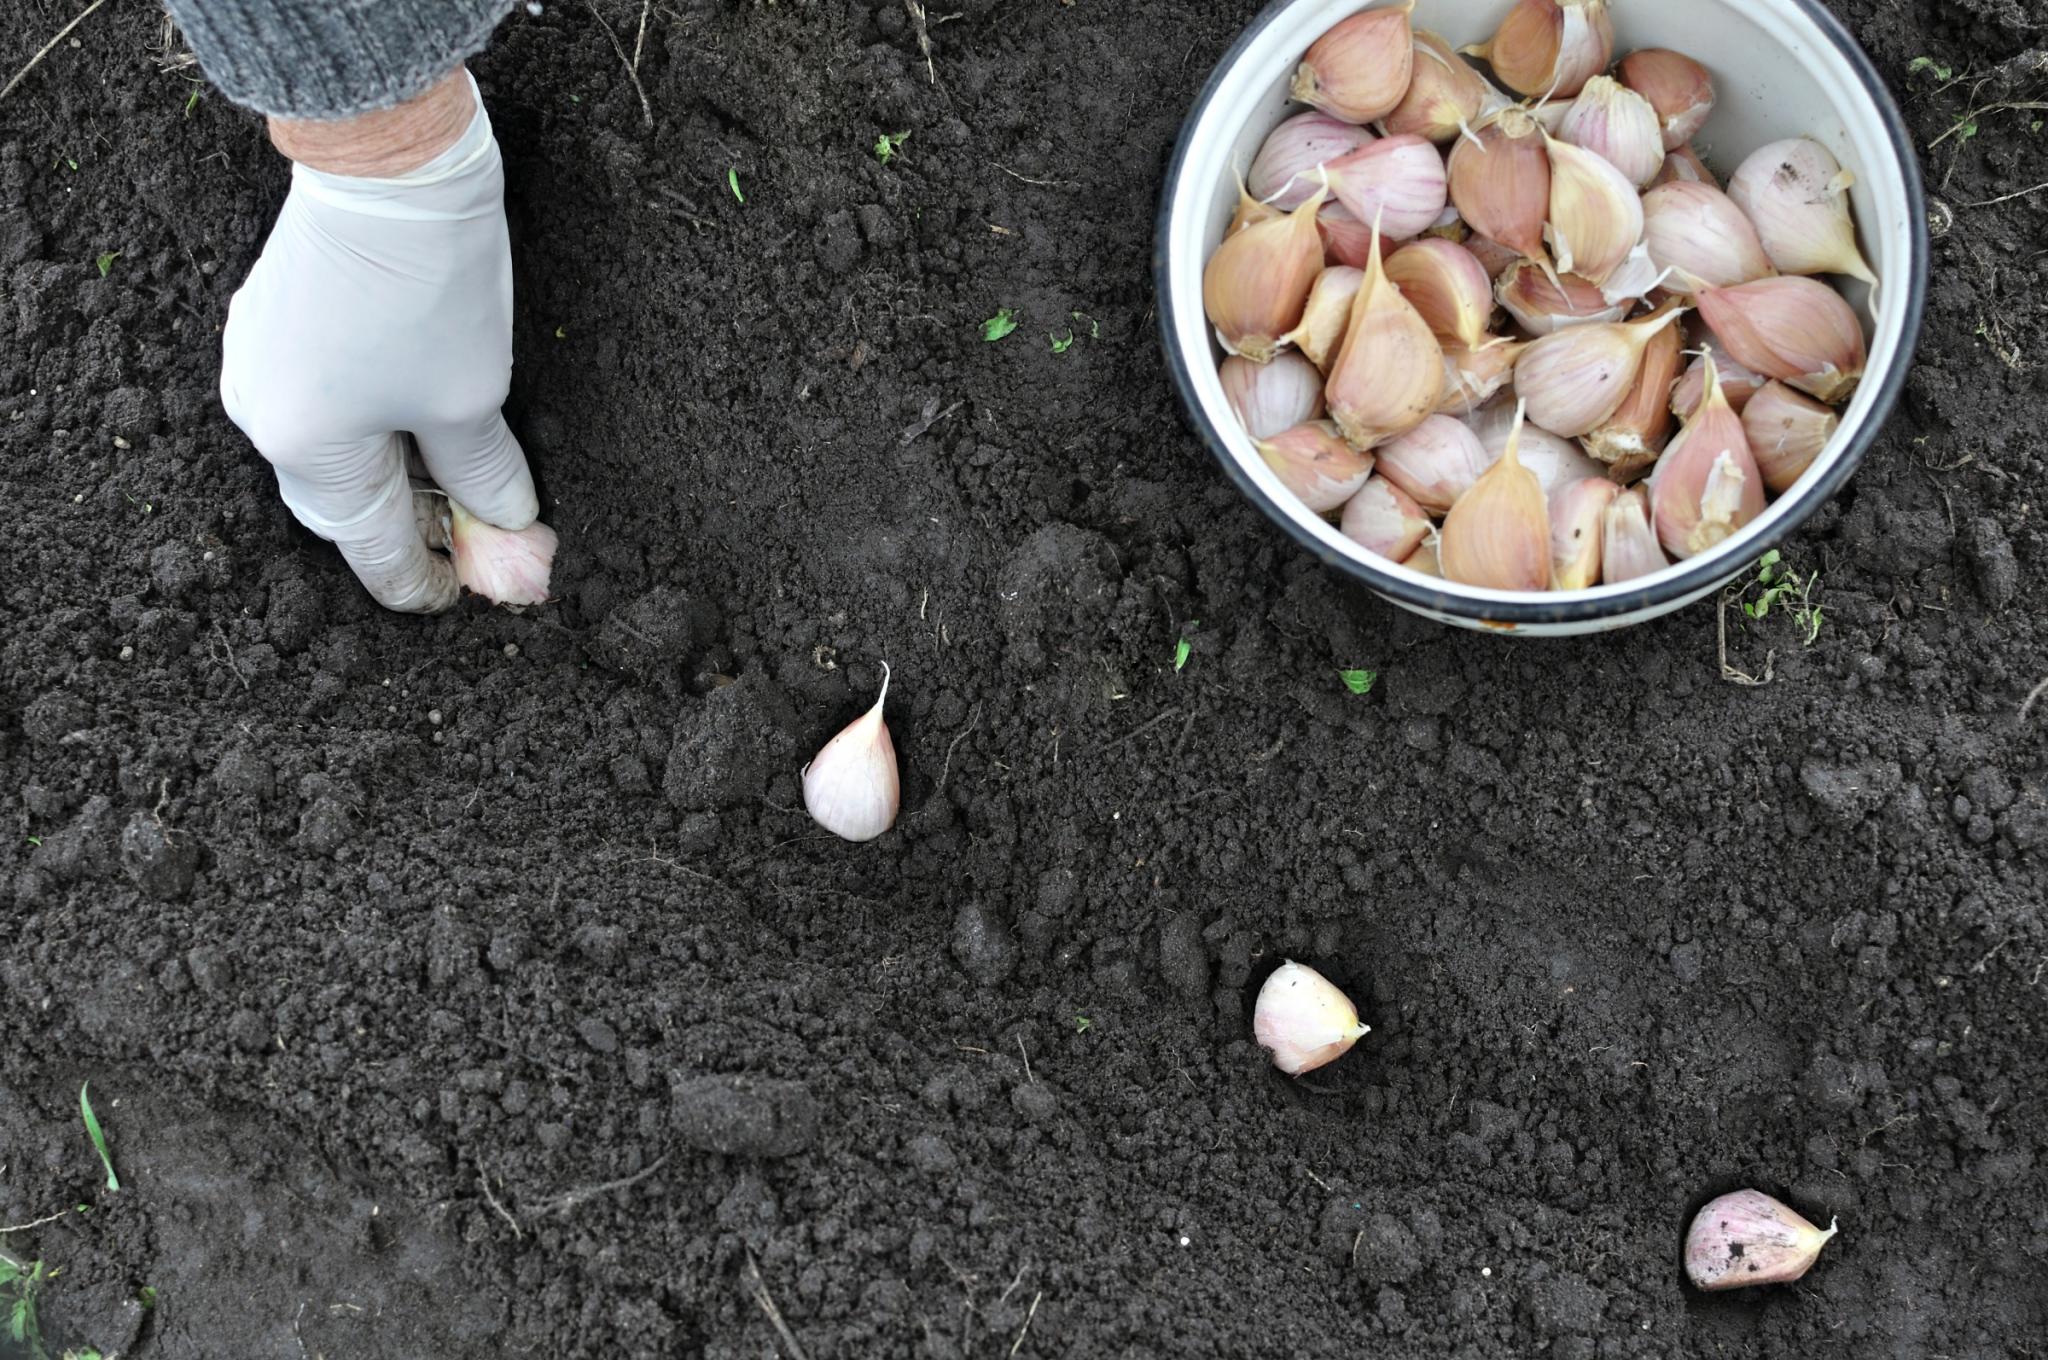
- Select large, healthy cloves, free of disease. The larger the clove, the bigger and healthier the bulb you will get the following summer.
- Break apart cloves from the bulb a few days before planting, but keep the papery husk on each individual clove.
- Plant cloves 4 to 8 inches apart and 2 inches deep, in their upright position (with the wider root side facing down and pointed end facing up).
- Plant in rows spaced 6 to 12 inches apart. A single 10-foot row should yield about 5 pounds of the fragrant bulbs, depending on the variety.
In this short video, Ben shares his tried and tested techniques for planting a truly spectacular crop of garlic.
- Gardeners in areas where the ground freezes should mulch garlic beds heavily with straw or leaves to ensure proper overwintering. Read our mulching guide for more info!
- Mulch should be removed in the spring after the threat of frost has passed. (Young shoots can’t survive in temps below 20°F / -6°C on their own. Keep them under cover.)
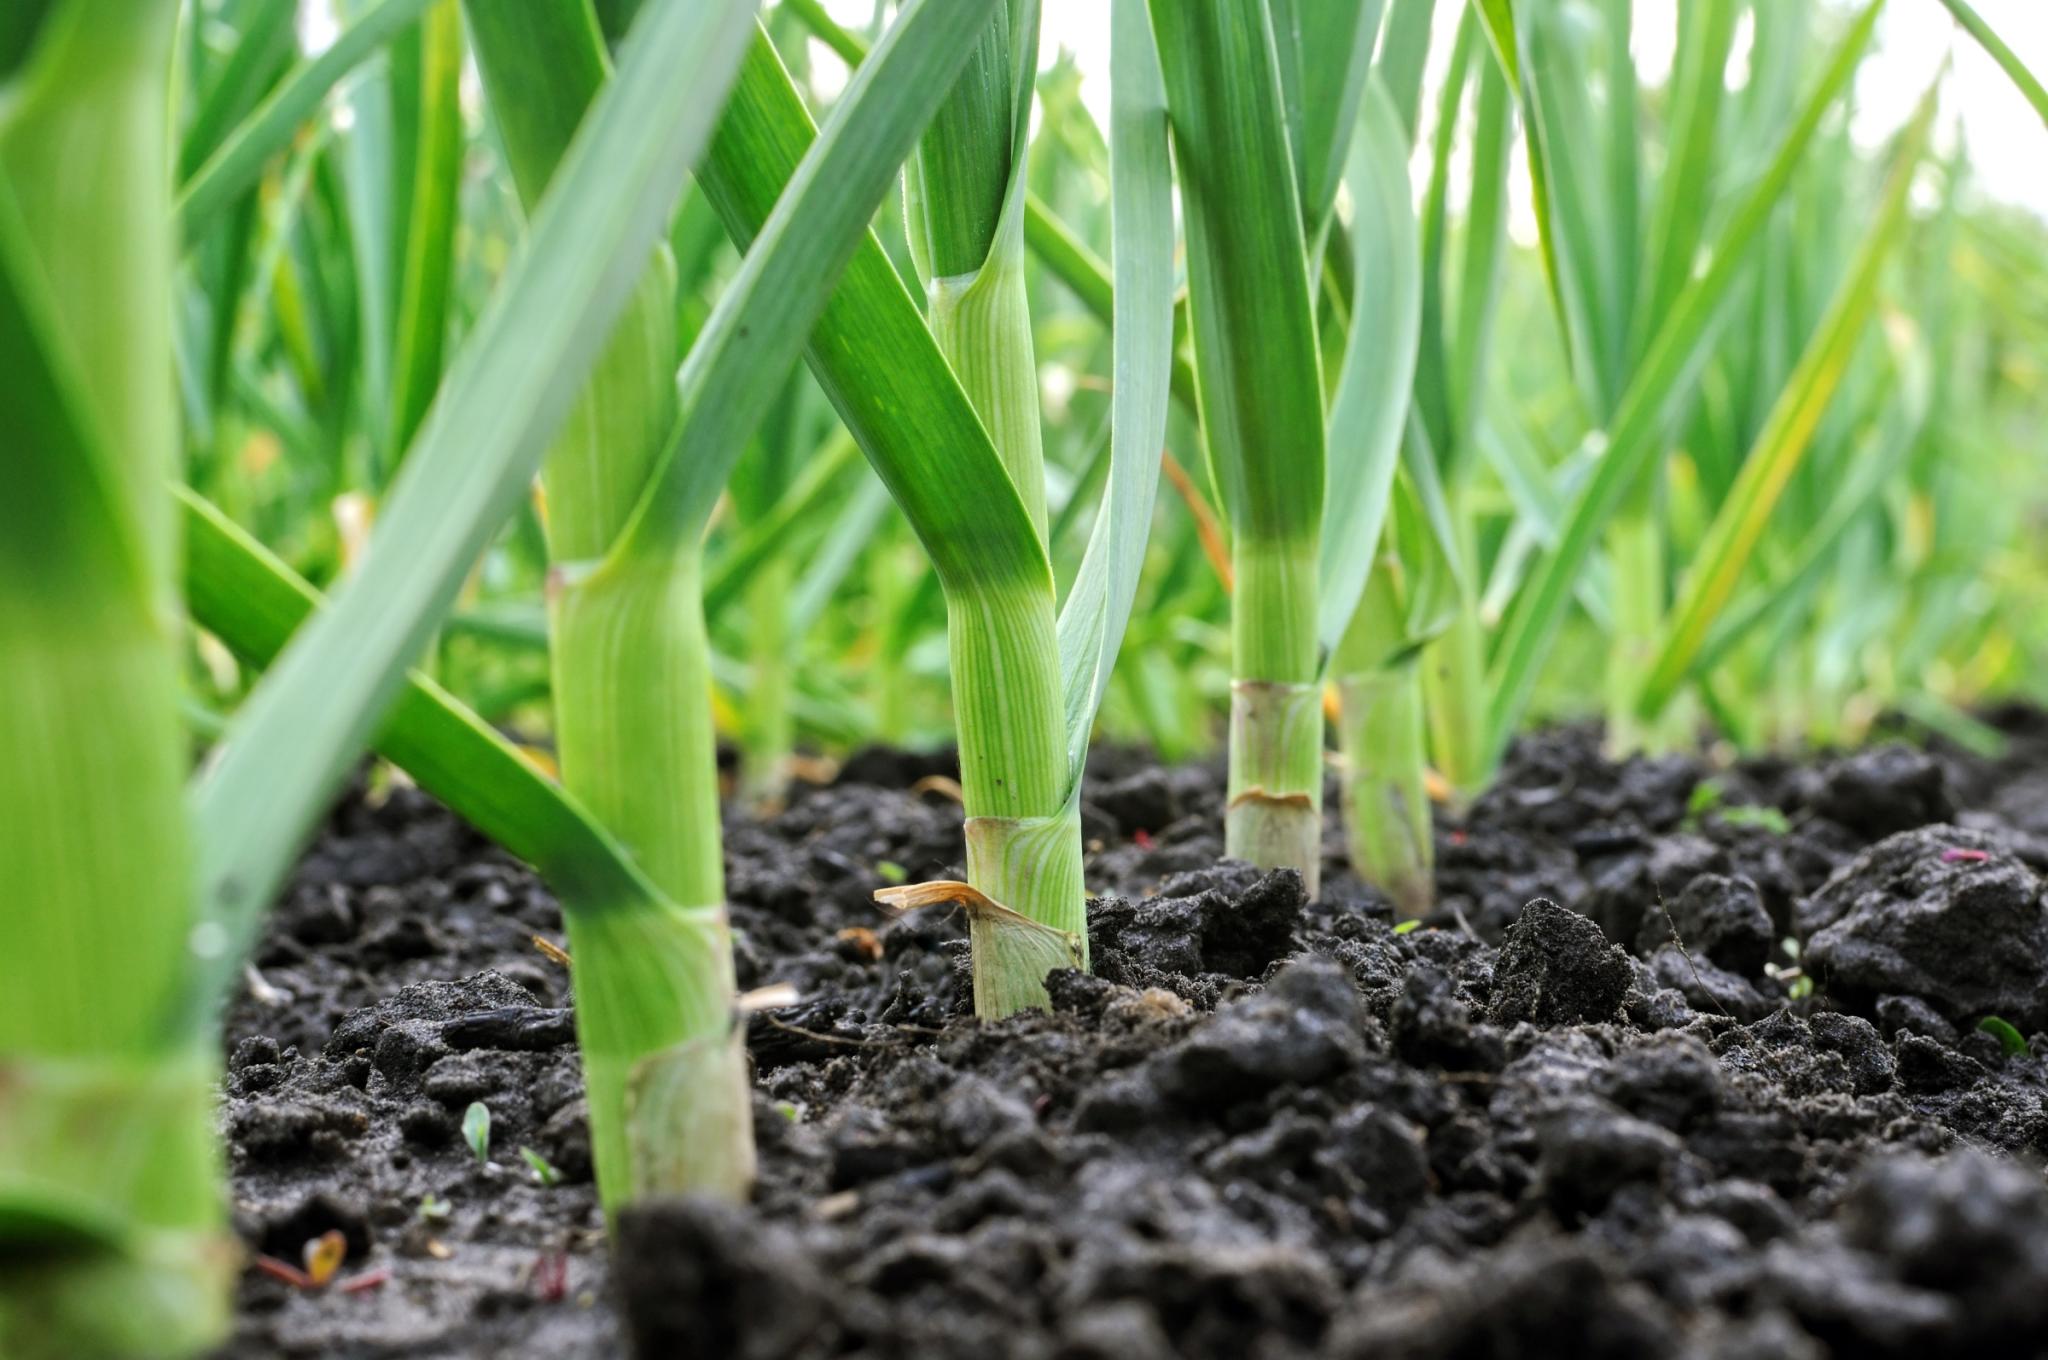
- In the spring, as warmer temperatures arrive, shoots will emerge through the ground.
- Cut off any flower shoots that emerge in spring. These may decrease bulb size.
- Garlic is a heavy feeder. In early spring, side-dress with or broadcast blood meal, pelleted chicken manure, or a synthetic source of nitrogen such as a pelleted fertilizer.
- Fertilize again just before the bulbs begin to swell in response to lengthening daylight (usually early May in most regions). Repeat if the foliage begins to yellow.
- Keep the planting site well weeded. Garlic doesn’t do well with competition—it needs all available nutrients!
- Water every 3 to 5 days during bulbing (mid-May through June). If May and June are very dry, irrigate to a depth of 2 feet every eight to 10 days. As mid-June approaches, taper off watering.
- Harvest from fall plantings will range from late June to August. If you planted in the spring, calculate your approximate harvest date based on the “days to maturity” of the garlic variety you planted.
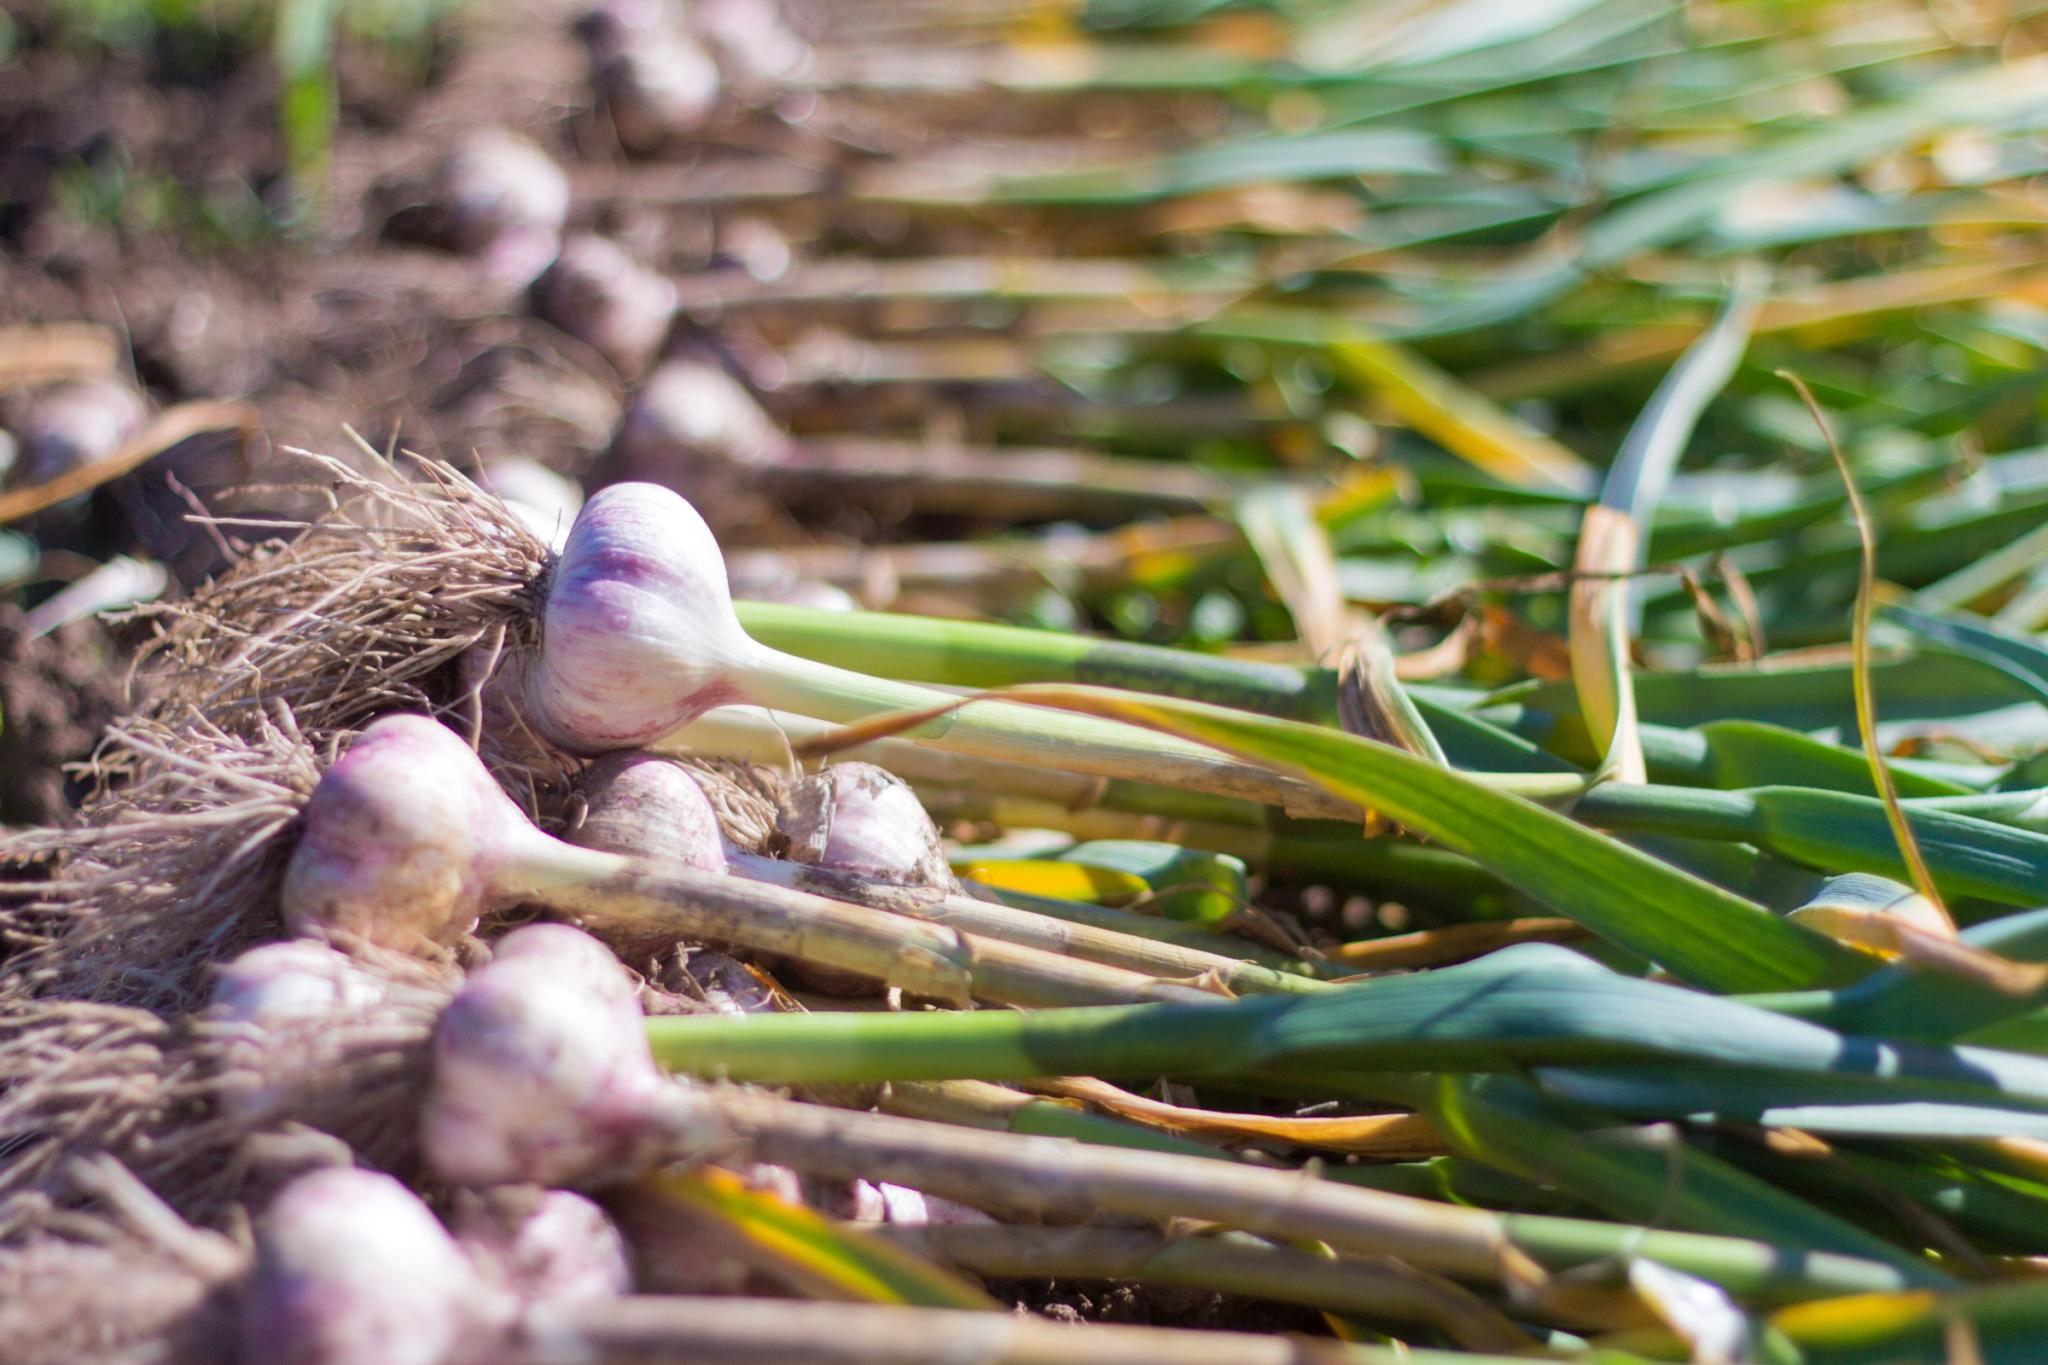
- In general, the clue is to look for yellowing foliage, but this isn’t the case for all garlic varieties. Harvest when the tops just begin to yellow and fall over, but before they are completely dry.
- Before digging up your whole crop, it’s a good idea to sample one bulb. Lift a bulb to see if the crop is ready. We often dig up a bulb before the tops are completely yellow (in late June or early July) as some garlic types will be ready earlier. The garlic head will be divided into plump cloves and the skin covering the outside of the bulbs will be thick, dry and papery.
- If pulled too early, the bulb wrapping will be thin and easily disintegrate.
- If left in the ground too long, the bulbs sometimes split apart. The skin may also split, which exposes the bulbs to disease and will affect their longevity in storage.
- To harvest, carefully dig (don’t pull or yank stems by hand) up the bulbs using a garden fork. Avoid damaging the roots and especially the root-plate (where they attach to the bulb). Lift the plants and carefully brush off surplus soil, but do not remove any foliage or roots before putting them to dry thoroughly.
How to Store Garlic
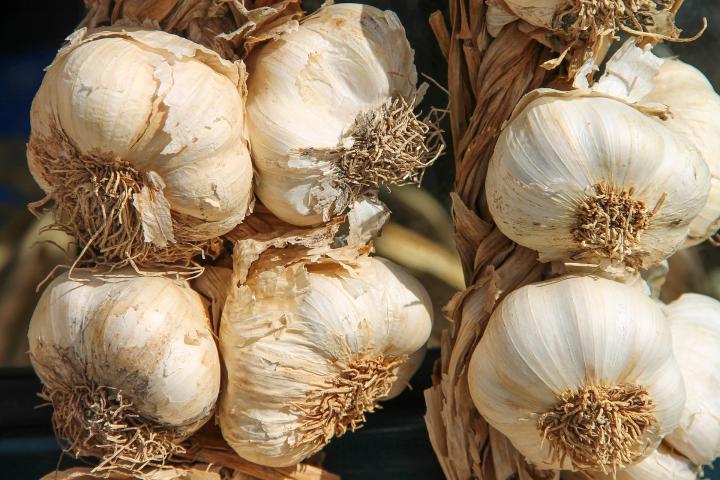
- Let garlic cure in an airy, shady, dry spot for about 2 weeks. Hang them upside down on a string in bunches of 4 to 6 or leave them to try on a home-made rack made from chicken wire stretched over posts. Make sure all sides get good air circulation.
- After a few weeks, the garlic should be totally dry and ready to store.
- The bulbs are cured and ready to store when the wrappers are dry and papery and the roots are dry. The root crown should be hard, and the cloves can be cracked apart easily.
- Once the garlic bulbs are dry, you can store them. Brush off (do not wash) dirt, remove only the dirtiest wrappers, trim roots to ¼ of an inch, and cut tops to 1 to 2 inches.
- Bulbs should be stored in a cool (55°F / 13°C), dark, dry place, and can be kept in the same way for several months. Don’t store in your basement if it’s humid. Do not store garlic in the refrigerator, either, as it will be too cold and too humid.
- The flavor will increase as the bulbs are dried. Properly stored, garlic should last until the next crop is harvested the following summer.
- If you plan on planting garlic again next season, save some of your largest, best-formed bulbs to plant again in the fall.
- Learn how to make your own garlic powder to easily spice up a recipe.
- Roasted garlic bulbs are also a favorite of ours!
- Around the time of the summer solstice (late June), hardneck garlic sends up a seed stalk, or scape. Allow it to curl, then cut off the curl to allow the plant to put its energy into bulb formation. Use the scapes in cooking the same way you would garlic bulbs. We like to stir fry scapes the way we cook green beans—similar, with a spicy kick! Note that they get more fibrous and less edible as they mature.


ADVERTISEMENT
Thank you for a clear guide to growing garlic! Very helpful. I bought 5 heads from our local farm feed & seed store, separated them, put the cloves in a bowl with a few teaspoons of water, roots started to emerge in about 2 days, then I planted them in a prepared raised bed. I’ll wait for a frost (Central Virginia has pretty mild winters) and then cover with hay mulch. Thank you again.
Friends,
Gentleness with one another, please. We all just want to learn about growing garlic. : )
And a thought meant kindly for all of us-
I can understand that converting might be frustrating, and if you send an email to the customer service department and ask them to list both types of measurements I bet they’ll be happy to do it.
Happy planting, all! Can’t wait to harvest and braid mine!
- C
Re your comment: "Bulbs should be stored in a cool (40°F / 4°C), dark, dry place...Do not store garlic in the refrigerator, either." I live in Houston, where it is hot and humid 5 months out of the year, and warm and humid another 6 months out of the year. It is mid-October, and until yesterday the high temperature every day has been in the 90s since early May. Even my garage doesn't stay at 40 degrees consistently over several months...so where do I store garlic that is 40 degrees but not a refrigerator? It may sound like I am jesting, but I am asking this question in all seriousness. Thanks.
That was a typo on our part! Garlic bulbs should be stored at around 55°F. Even up to 60°F would be suitable. A refrigerator is generally too cold and humid to store garlic bulbs well.
Inches only... WHY ?
I'm 51 years old and grew up in an educational system that only used decimalised systems. I have used litre, metre, centimetre, millimetre, nanometer and centigrade my entire life. It is really annoying when US websites refuse to give both measures, the rest of the world has no idea what an inch is. It is very irritating trying to study something when you have to constantly leave the page to find out what US imperial measures are. Is it asking too much to supply the information in a format that everybody in the world understands? The rest of the world has been metric for many decades (over half a century in some countries) for good reason. And, before some clown says "we put man on the moon"... News flash... NASA was founded by Von Braun, a European German that used metric his entire life.
It is so bad in America that nobody even knows what size a US Cup measure is in metric. I have seen it as anything from 100ml (!!!) to as high as 275ml. (250ml is the closets any American guessed it). A gallon is a gallon right ? ... No, "Gallons" change volume pending which country e.g. US G = 3.75 litre but an old UK G = 4.5 litre, then other nations had their "gallon" versions too. 1 litre is the same in every nation in the world. Important when refueling an airliner right ?
Comments